Follow the steps to add Dialogity chat to any site where you are able to modify the site HTML content either directly or by a tag manger.
1. Create an account
If you don’t have your Dialogity account yet, create it at https://app.dialogity.com/registration
2. Get the Dialogity code snippet
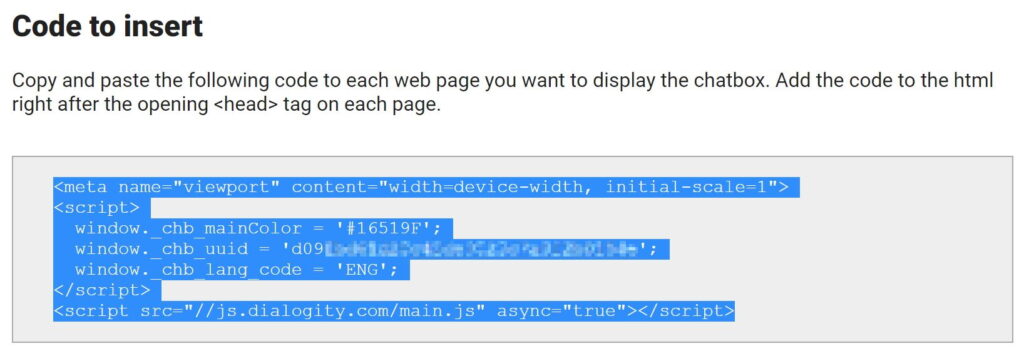
Log in to the Dialogity admin interface, and go to the ‘Installation and Design’ menu. Fill out the fields like color, chat header text, welcome message according your preferences than copy the code snippet from the bottom of the page (selected with blue on the image below).
3. Edit the header of your site
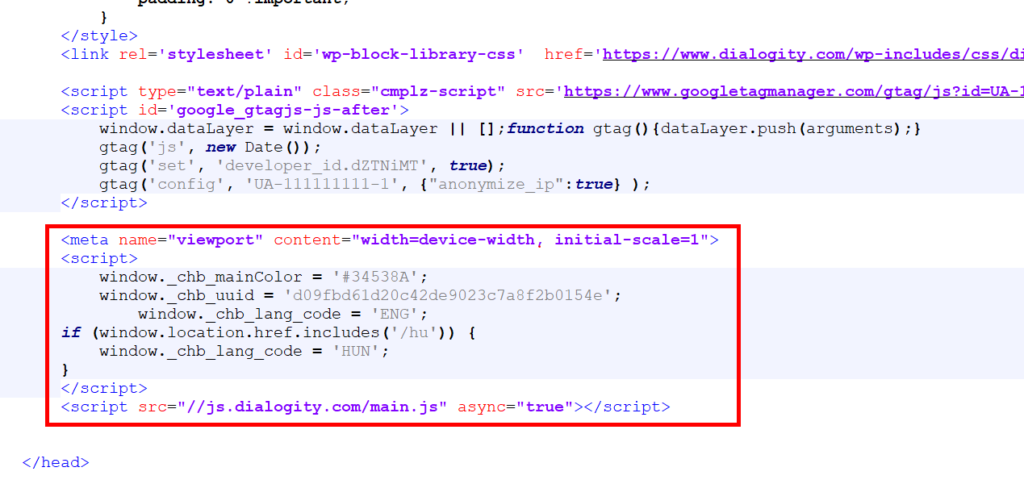
The html code copied should be inserted to every page on your website (or at least to those pages where you want to display the chat). Ideally you should add the code snippet inside the ‘<head>’ tag, but if it’s not possible other locations might work too.
So let’s add the script for example directly before the ‘</head>’ like on the picture below.
With this step the installation is ready. Later on you can adjust the look and feel and the welcome message on the Dialogity admin site in the ‘Installation and Design’ and ‘Settings’ menu.